How to pass the data between the react-native app and action extension on iOS
How to pass the data between the react-native app and action extension on iOS
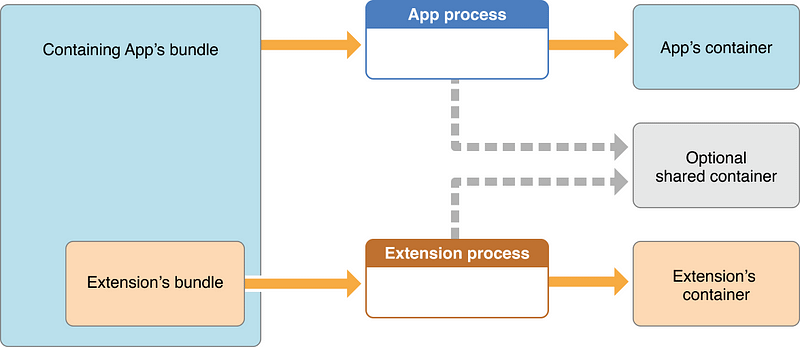
As you might know, an iOS application and its extensions use standalone data containers that do not intersect and can not be accessed from one another. This article outlines a technique for sharing data between the application itself and application extension bidirectionally. It uses NSUserDefaults configured with special suite via App Groups .
Pre-requirements
Installation
You can always get the entire code here https://github.com/eugenehp/RNBacklinks.
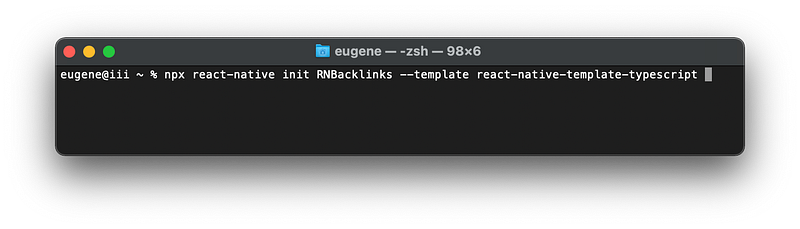
- Create a react-native application using a Typescript template.
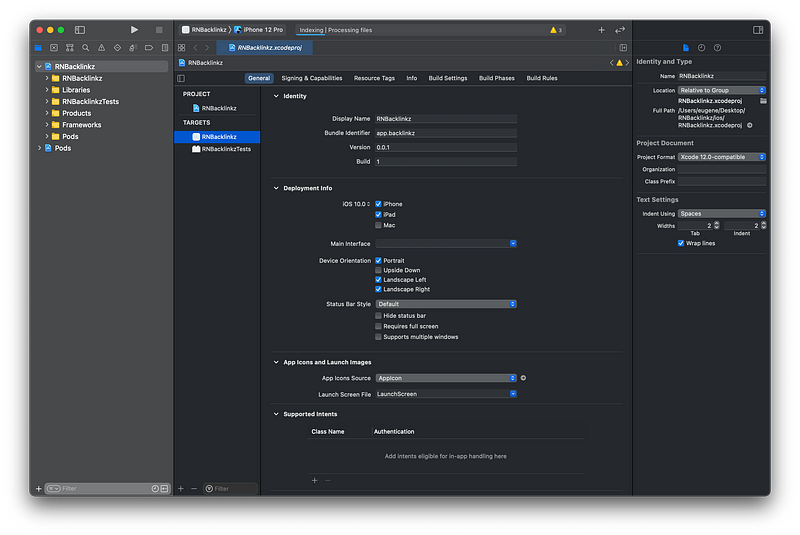
2. Open RNBacklinks/ios/RNBacklinz.xcworkspacein Xcode.
3. Add Action Extension
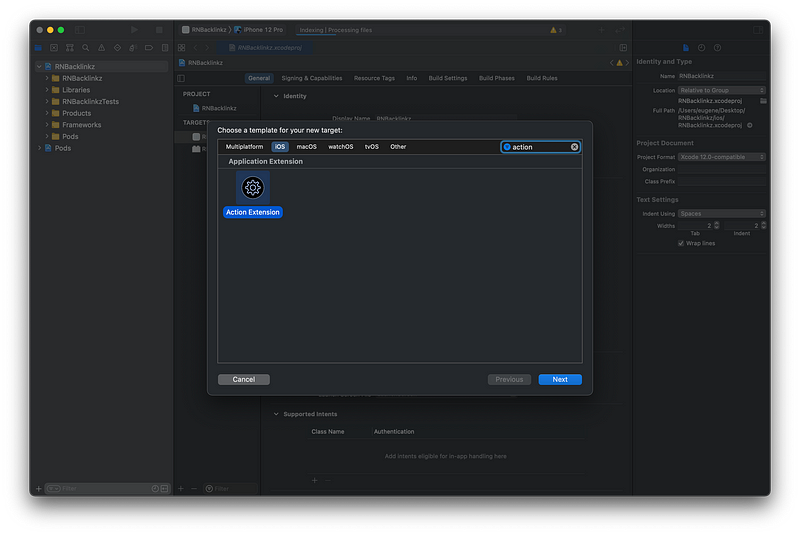
4. Configure your Action Extension. Make sure it is set to Objective-C and No User Interface.

5. Confirm activation of your extension and ⌘-R to run the app in a simulator.
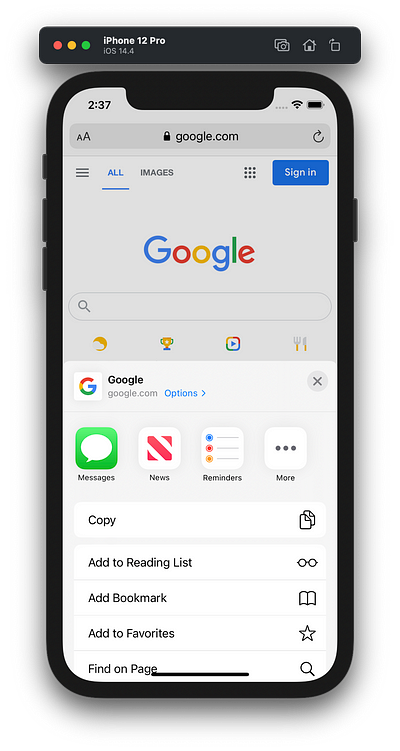
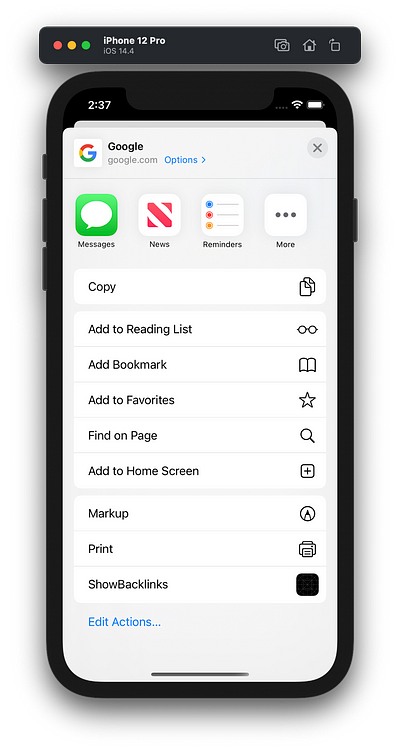
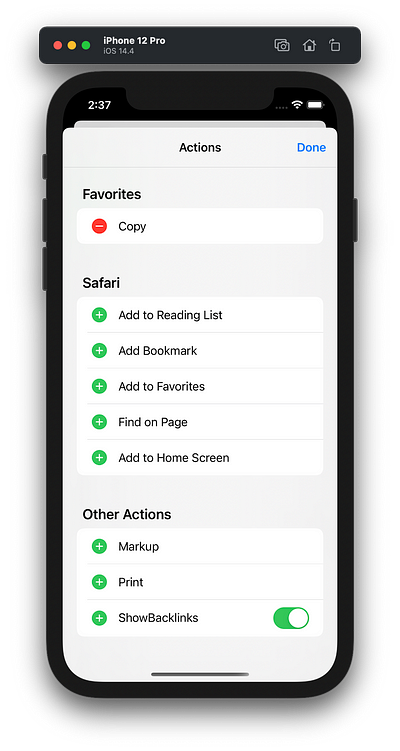
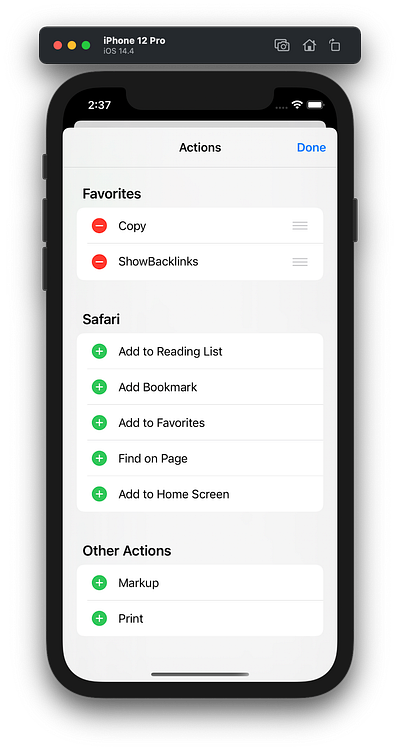
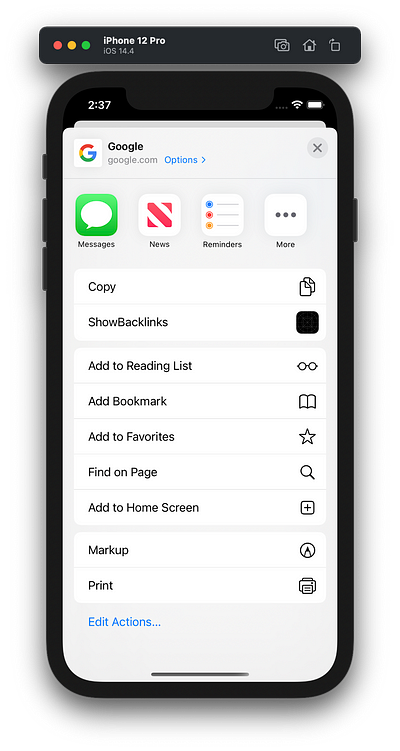
6. In the simulator click ⌘-H to see the home screen. Go to Safari. Open any webpage, and click share. Scroll down and enable your newly added extension.
Great! You are halfway there.
Now let’s make sure there is a data flow between Application Container and Action Extension Container.
- In Xcode go to the main application
RNBacklinkz, select the first targetRNBacklinkz, and click+ Capability.
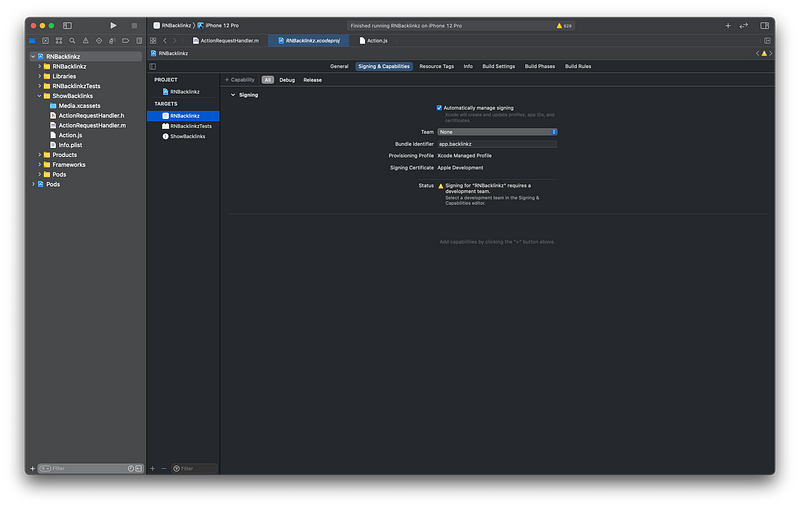
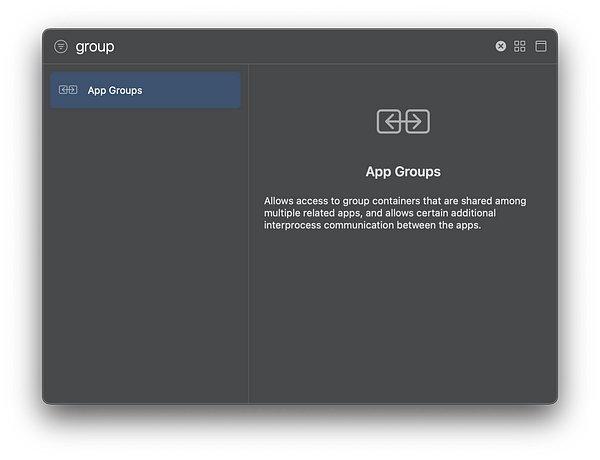
2. Select App Groups capability and click Enter.

3. Configure App Group name: app.backlinks
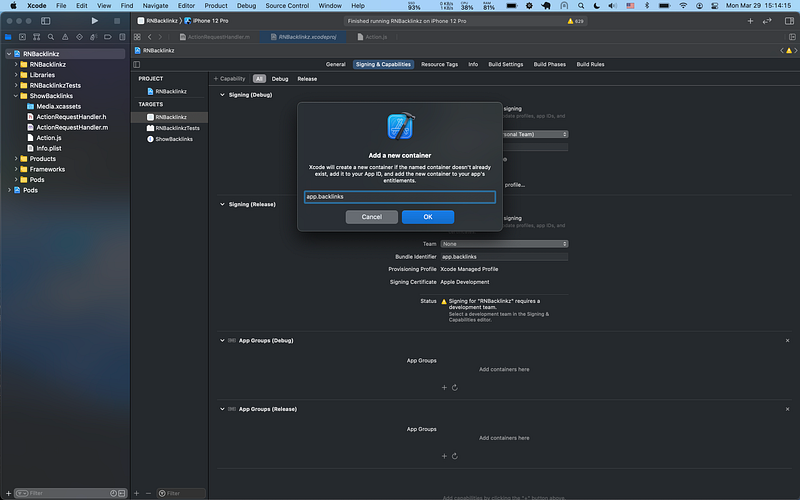
4. Add the same capability to the app extension
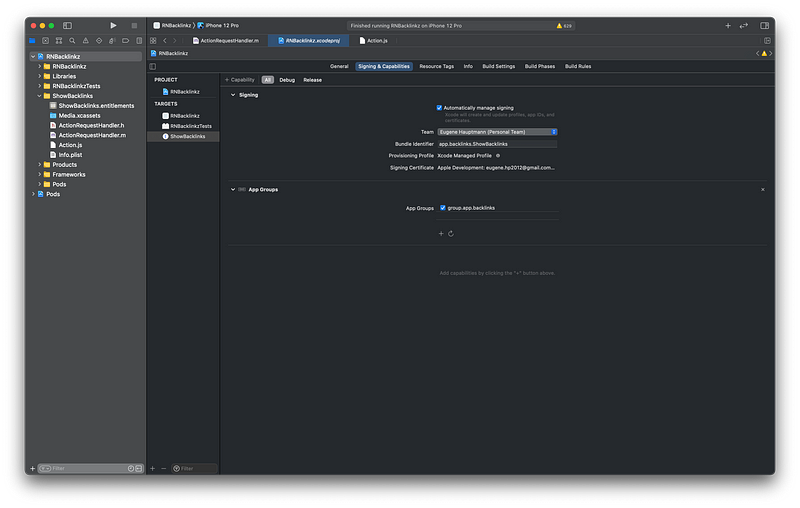
Congratulations! 🎉 You have just configured your Xcode.
Configure app group name in NSUserDefaults on the react-native side of your application.
import DefaultPreference from 'react-native-default-preference';
const SUITE_NAME = 'group.app.backlinks';
DefaultPreference.setName(SUITE_NAME);
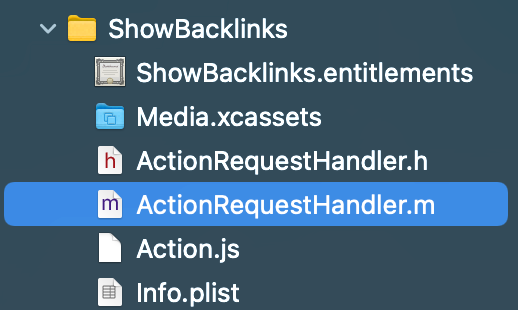
Next, in your Action Extension, go to ActionRequestHandler.m
And configure NSUserDefaults too, this time in Objective C code.
NSString* COLOR_ITEM = @"color";
NSUserDefaults* defaults = [[NSUserDefaults alloc] initWithSuiteName:@"group.app.backlinks"];
NSString* newColor = [defaults stringForKey:COLOR_ITEM];
And that’s it.
Full code is available here:
- Application (Typescript) — https://github.com/eugenehp/RNBacklinks/blob/main/App.tsx
- The extension (Objective C ) — https://github.com/eugenehp/RNBacklinks/blob/main/ios/ShowBacklinks/ActionRequestHandler.m
- Extension (Javascript) — https://github.com/eugenehp/RNBacklinks/blob/main/ios/ShowBacklinks/Action.js
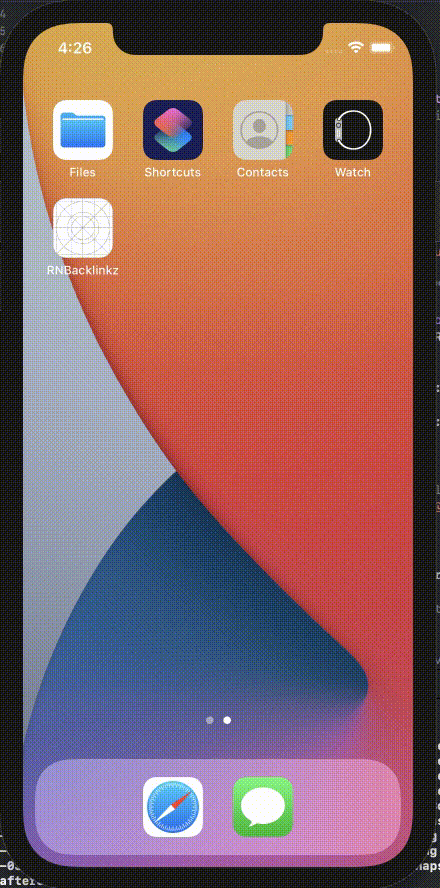
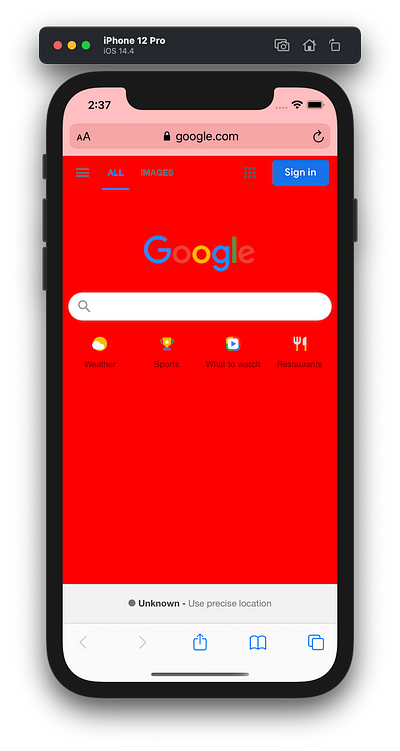
Here is what the final app looks like:

In Part 2 we will explore building functionality inside Action.js in the Action Extension. Follow us to stay updated.
About the author

Eugene Hauptmann, CEO of Reactive Lions™
Eugene is a faith-centric technologist, a serial entrepreneur, angel investor, advisor, and mentor.
He is the founder and CEO of REACTIVE LIONS INC. where he is implementing his vision of faith-driven entrepreneurship in the tech world. He is currently running a team of over 40 talented engineers across the US.
Eugene is the expert in building tech teams and he is a chief architect of scalable software products. His experience goes beyond B2B and B2C in multiple industries like Cyber Security, Deep Tech, FinTech, Media, AI, ML, Data platforms, Marketplaces, Wellness, Healthcare, Space, M&A, and more.
Contact us to learn how we can help your business build great tech.